
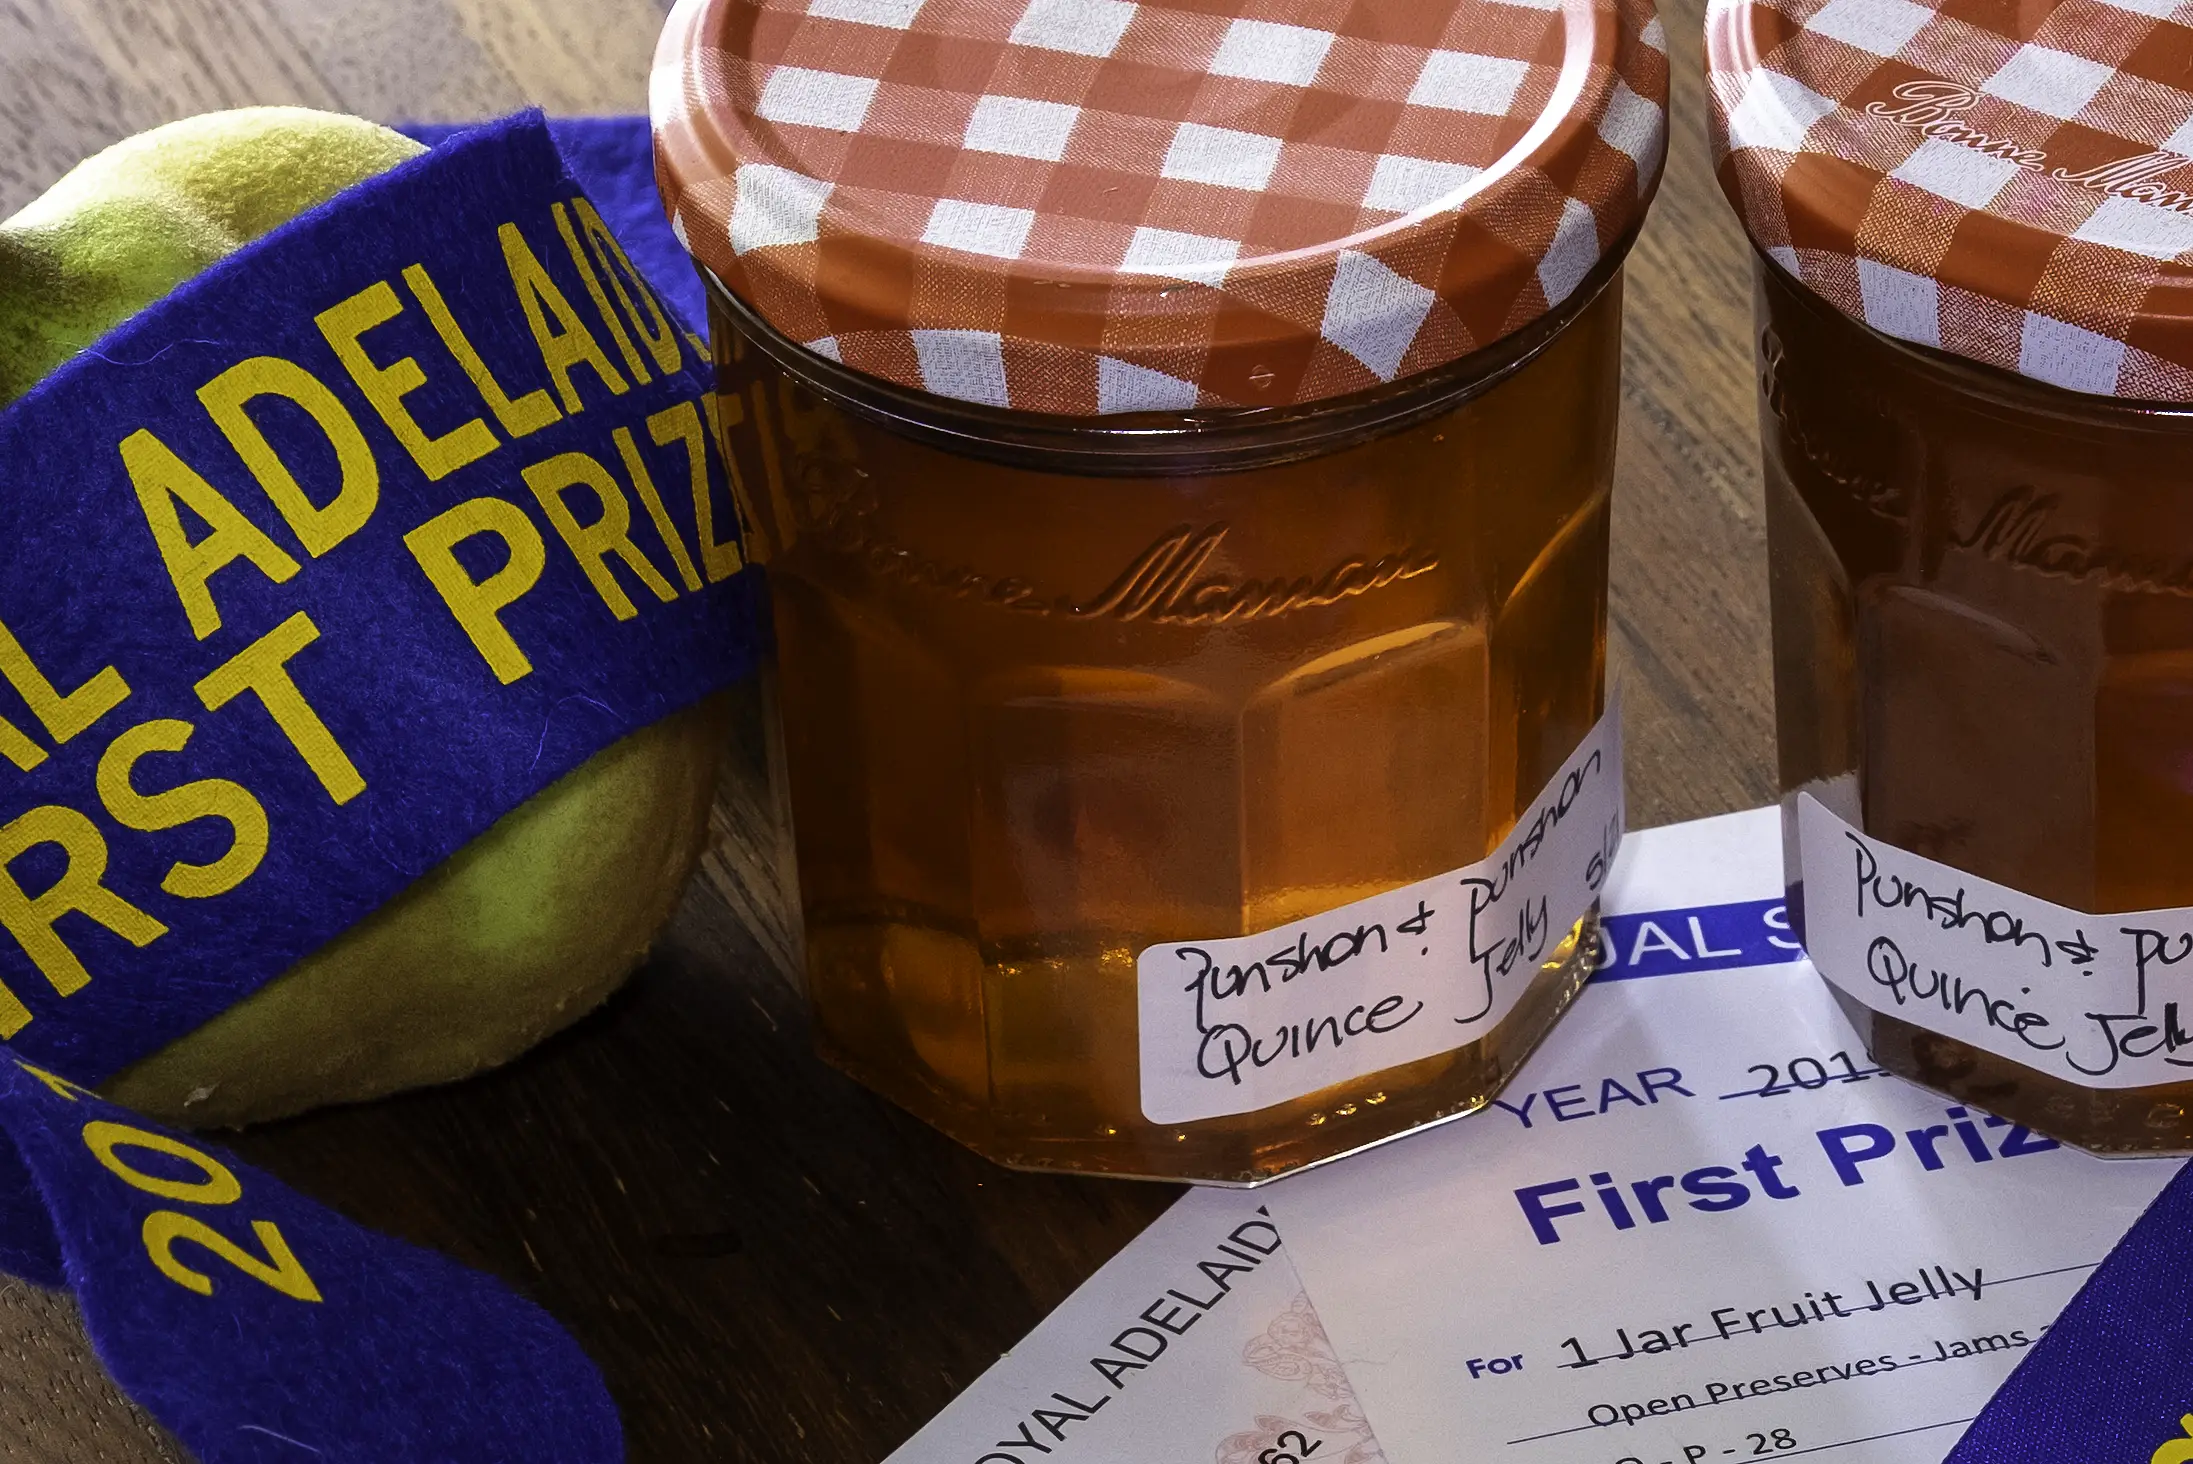
The Art of Jelly Making
- Jams, Jellies & Marmalades
Jelly is a sparkling translucent preserve that glistens and shines like champagne diamonds. Irresistible and versatile it’s easy to make and is a wonderful alternative to jams and conserves. Preparation is minimal and though it takes a little longer to make than jam, because the juice must be strained from the cooked fruit pulp, this can be done overnight.
It follows the same basic principles as jam: cook the fruit to extract a rich fruit flavour, balance the pectin, sugar and acid and boil the mixture until it reaches the setting point. The difference is that jelly is made with strained juice from the simmered fruit and produces a clear, bright sparkling jelly. Jam, by contrast, is made from both the simmered fruit juice and pulp and produces a thick, spreadable preserve. Jellies produce a lower yield as the pulp is not used.
Sweet or savoury, they are versatile and irresistible
Jellies can be sweet and served as a spread, spooned over ice-cream, stirred into yoghurt, used to fill or cover cakes, tarts and pancakes. Or glam up a cake or poached fruit, with the addition of a rich jelly and Chantilly cream, to make an inspired dessert. Alternatively savoury jellies make a marvellous condiment to serve with meat, fish, cheese. The fruit base, generally apples, grapes or redcurrants, are flavoured with vegetables, chopped herbs, spices, zesty citrus or wine or wine vinegar to provide a tangy sweet-sour taste. Savoury red fruit jellies are a classic addition to sauces to accompany game meats.
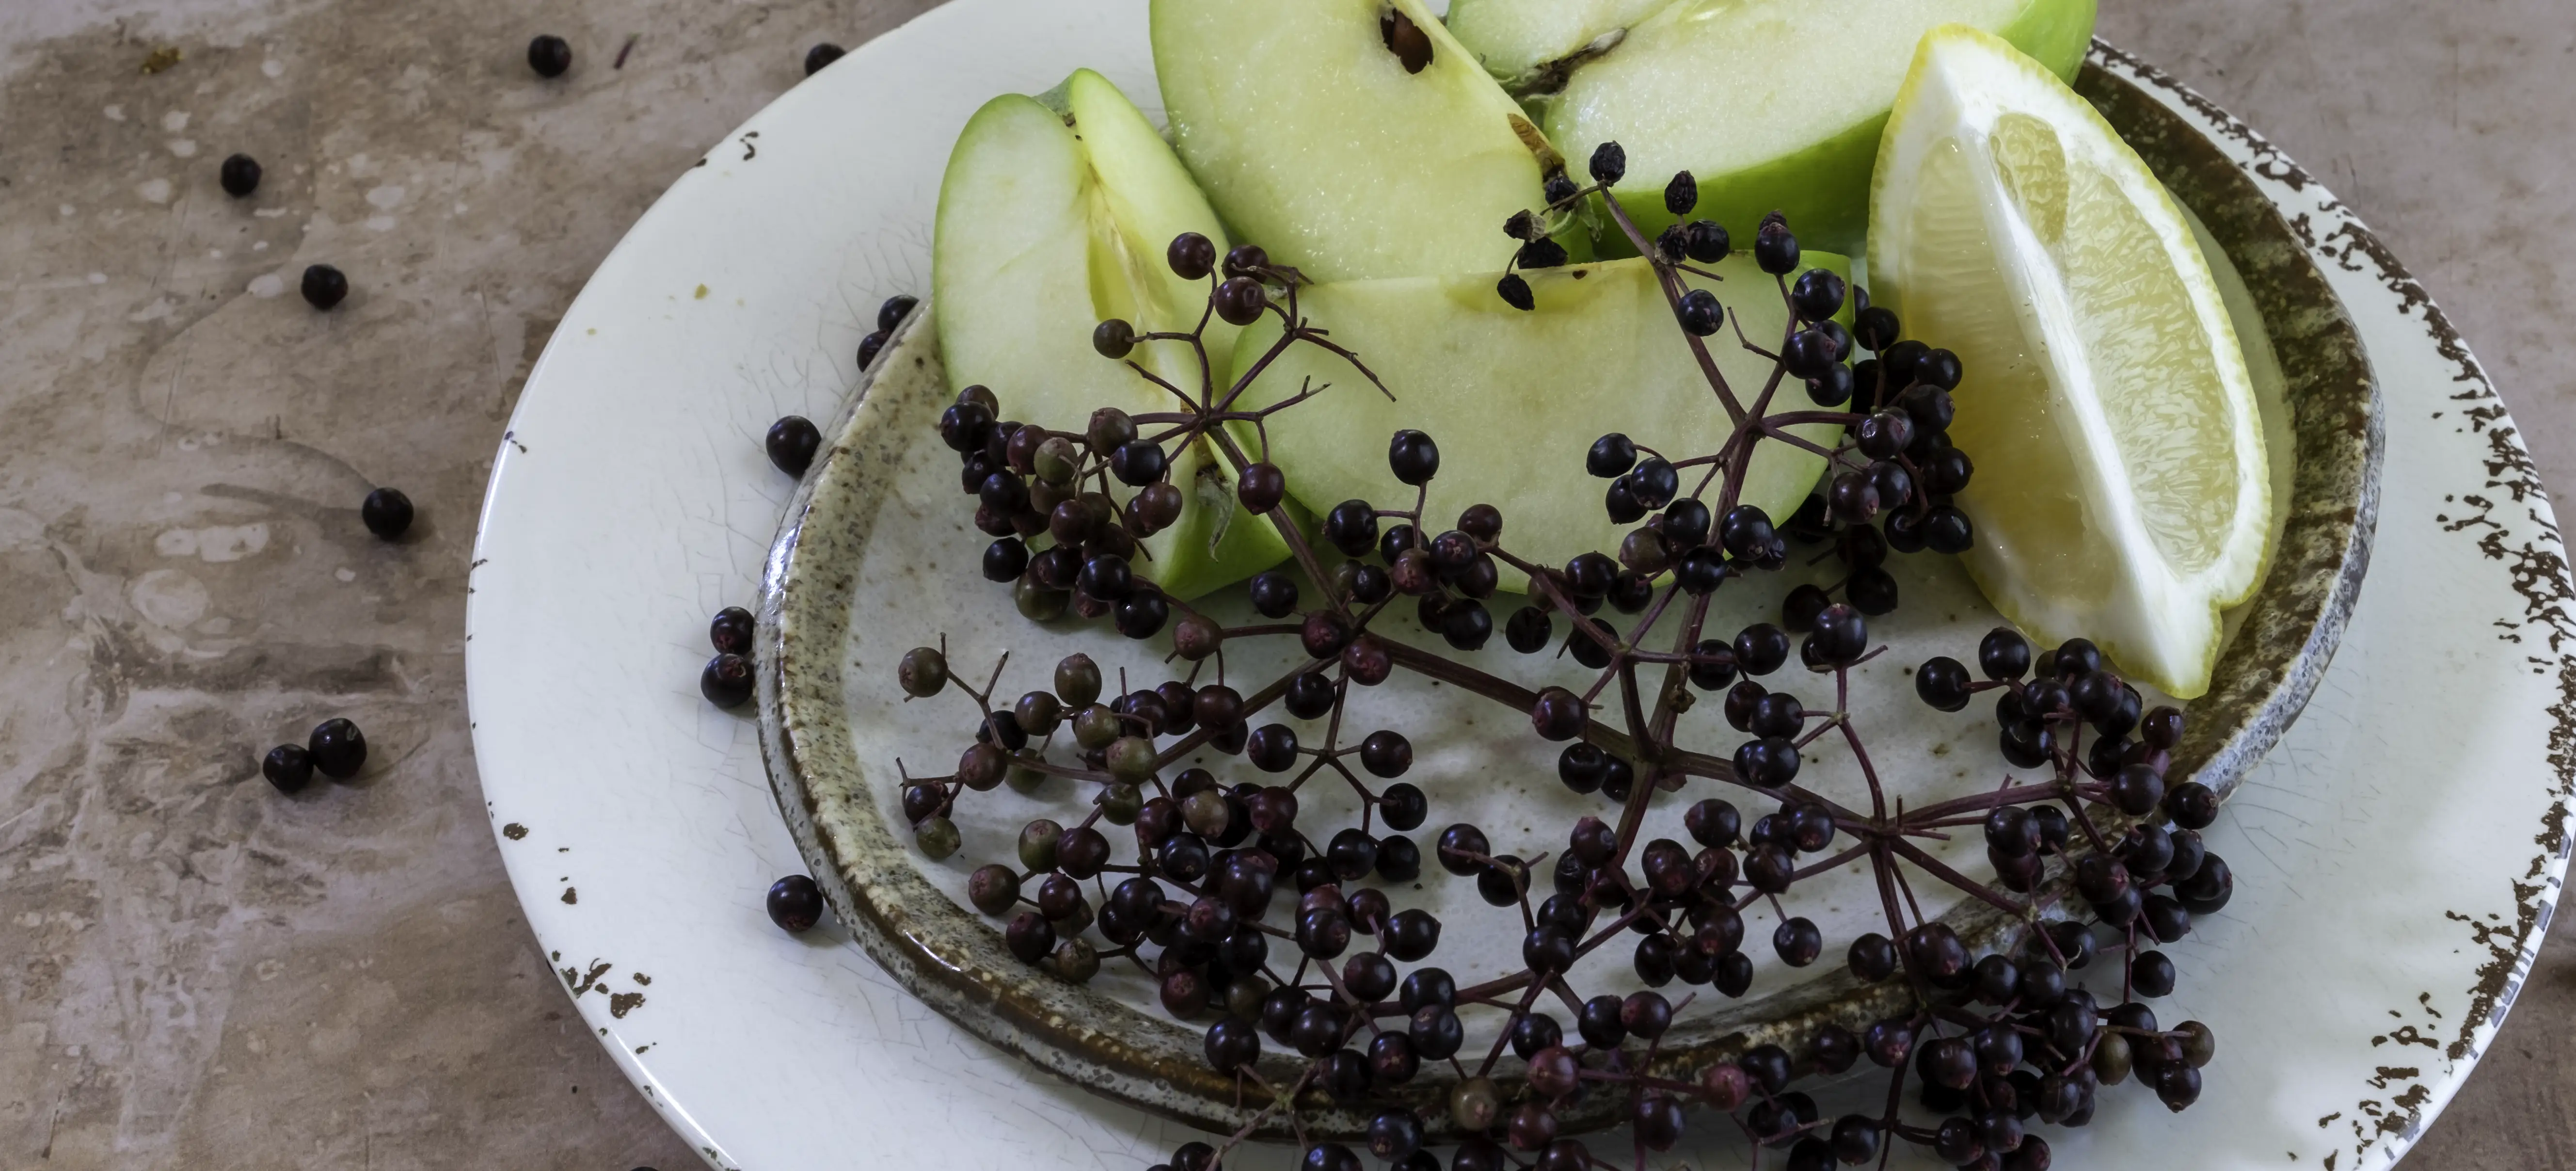 Savoury jelly ingredients: elderberries, apple and lemon juice for elderberry & apple jelly
Choosing The Fruit
- To ensure a firm set jelly, choose fruits rich in pectin and fruit acid. Refer to the table, Acid and Pectin Content of Common Fruits and Vegetables in my article What Makes Jams, Jellies & Marmalade Set.
- Only use firm, barely ripe fruit as the pectin content will be higher than using ripe or over ripe fruit.
- While certain types of jam can be made with low pectin and low acid fruit, by combining fruit and adding large quantities of sugar, a firm set is not guaranteed when this principle is applied to jelly making. Plus, the delicate fruit flavour is spoiled by the larger sugar quantities required.
- Some fruits are not suitable, sweet cherries, peaches, pears, strawberries
Preparing The Fruit
- Remove stalks, discard damaged or bruised fruit. Wash fruit to remove garden or shop debris. Dry lightly on clean tea towel or absorbent kitchen paper.
- Do not peel, core or hull the fruit. The skin and seeds are rich in pectin, and they will be strained out later.
- Cut large hard fruit into pieces.
Cooking The Fruit
- Place the fruit in a preserving pan or a heavy-bottomed stainless-steel pot. Add just enough water to barely cover it, then simmer gently until the fruit is soft and pulpy. Fruit varieties vary in their moisture content and may require more or less water.
- Use these instructions as a general guide; for established recipes, follow the specified quantities and cooking times. Slow, gentle simmering helps extract the maximum amount of pectin, acid, and flavour, please do not rush this stage.
- Soft fruits: Berries and other soft fruits release their juice quickly and usually need little water.
- Firm fruits: Apples, quinces and medlars require longer cooking and may need more water.
- Check the pan during cooking. If too much water evaporates, add a little more so the fruit remains just covered.
Straining The Cooked Fruit
- Scald a sterilised jelly bag with boiling water before using as a dry bag will absorb too much of the fruit juice. Set up the jelly bag by suspending it over a large stainless-steel bowl in a cool place. Refer to the section below: How to Make and Set Up a Jelly Bag.
- Ladle the pulp and juice into the bag and allow to strain for a minimum of 4 hours, preferably overnight in a cool place.
- Do not let it strain for more than 24 hrs as juice may begin to ferment, particularly in warm-hot weather.
- Do not squeeze or press that jelly bag during this stage as it will produce a cloudy jelly.
- The strained juice will appear cloudy at this stage, however, provided it has not been squeezed during the straining stage, it will clear to a translucent jelly when boiled with the sugar. Use the pectin test to determine if the jelly will set. Refer to the section Testing the Pectin Level in Your Mixture in my article: Understanding Pectin: A Masterclass. If there is insufficient pectin, use homemade or commercial pectin, in accordance with the instructions. Discard the fruit pulp or use to make a jam. Refer to the section below: Use the Pulp to Make Jam
Measuring The Juice, Adding Sugar
- Measure the juice to calculate the amount of sugar required. Usually 400g (1lb) sugar to 500ml (1 pint) juice. This quantity can vary depending upon the pectin content, so it’s important to reference your recipe quantities.
- For lower pectin fruit or vegetables, stir in a small amount of lemon juice or vinegar. Place the measured juice into a clean stainless-steel preserving pan or heavy bottom stainless- steel pot and add warmed sugar. Dissolve completely over gentle heat before quickly bringing to the boil.
- Using warmed sugar is not necessary however it will reduce the time to dissolve the sugar, bring the mixture to the boil and boil rapidly until the setting point is reached.
- A longer boiling time will deepen the colour of the final jelly. If the juice looks pale, you can use your judgement to determine if you will use warmed or cold sugar. Cold sugar will take longer to dissolve, come to the boil and reach the setting point- so the colour will be darker.
Boil to Setting Point
- Once sugar has been dissolved, bring the juice to a fast boil. It will foam up in the preserving pan. A high heat must be maintained, without allowing it to boil over and without stirring.
- Begin testing after 5-10 minutes using the flake, wrinkle or thermometer test (105 C/220F). Refer to section Four Methods to Determine the Correct Setting Point in my article: What Makes Jam, Jelly and Marmalade Set
- Skim if necessary, during boiling phases.
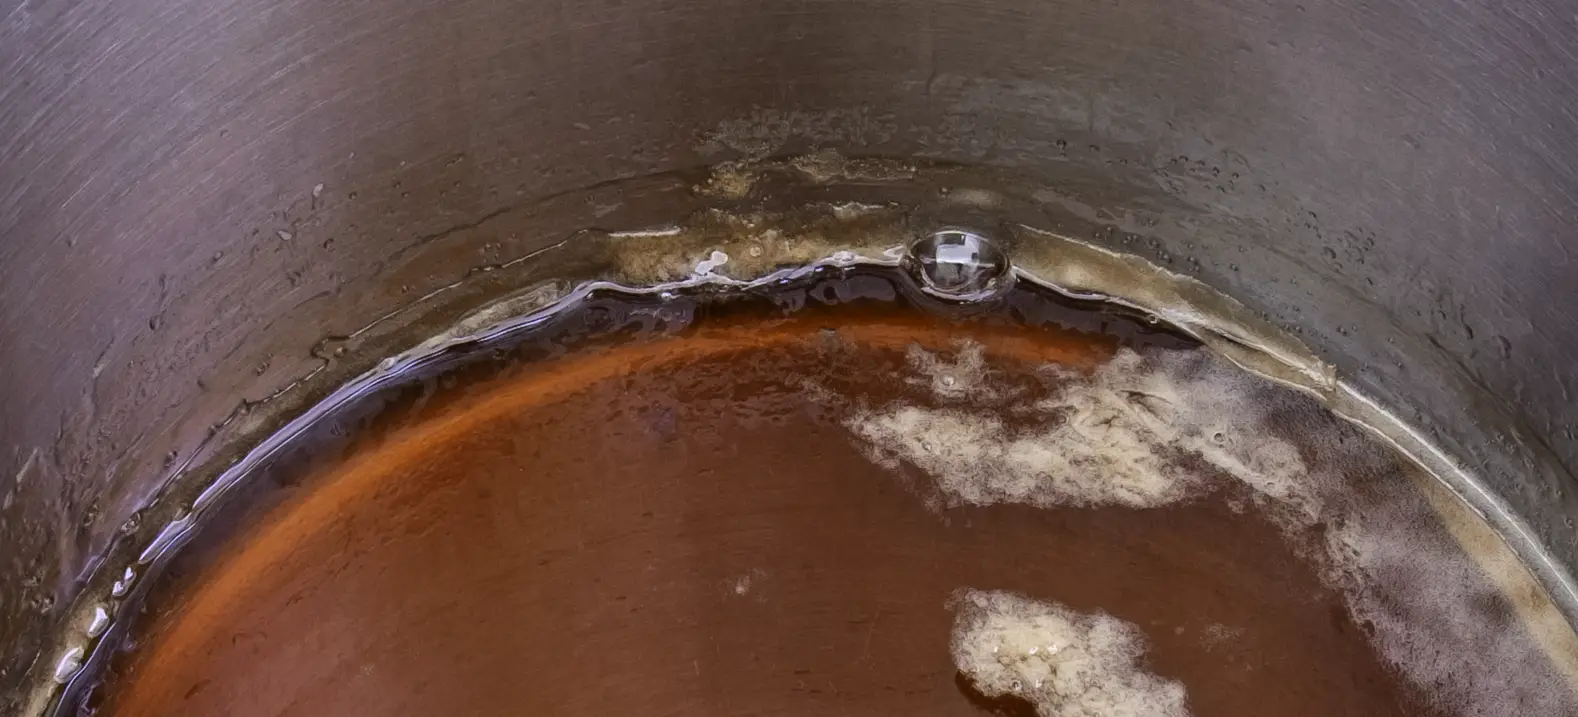 Scum floating on the surface of the jelly after it has been boiled
Potting Up, Sealing, Labelling
- When the setting point has been reached, turn off and remove from the heat. Allow any bubbles to settle and skim to remove any remaining foam or scum with a sharp-edged spoon. Carefully remove the last traces with a piece of paper towel.
- Work quickly and pour the jelly into hot sterilised jars to the top of the jar. The jelly will shrink as it cools.
- Seal immediately while hot with sterilised lids. This is the HHH Method, pour hot preserve, into a hot sterilised jar and sealed with a hot sterilised lid. Refer to my article: How to Sterilise Bottles and Jars.
- When the jelly is cold, wipe down the jars with warm, soapy water to remove any spilt jelly. Label.
Storing Your Jelly
- Store in a cool, dry darkish place. If sealed correctly jelly can be kept up to 2 years. However, it is good practice to use or gift preserves before the new season.
- Once the jar has been opened, keep refrigerated.
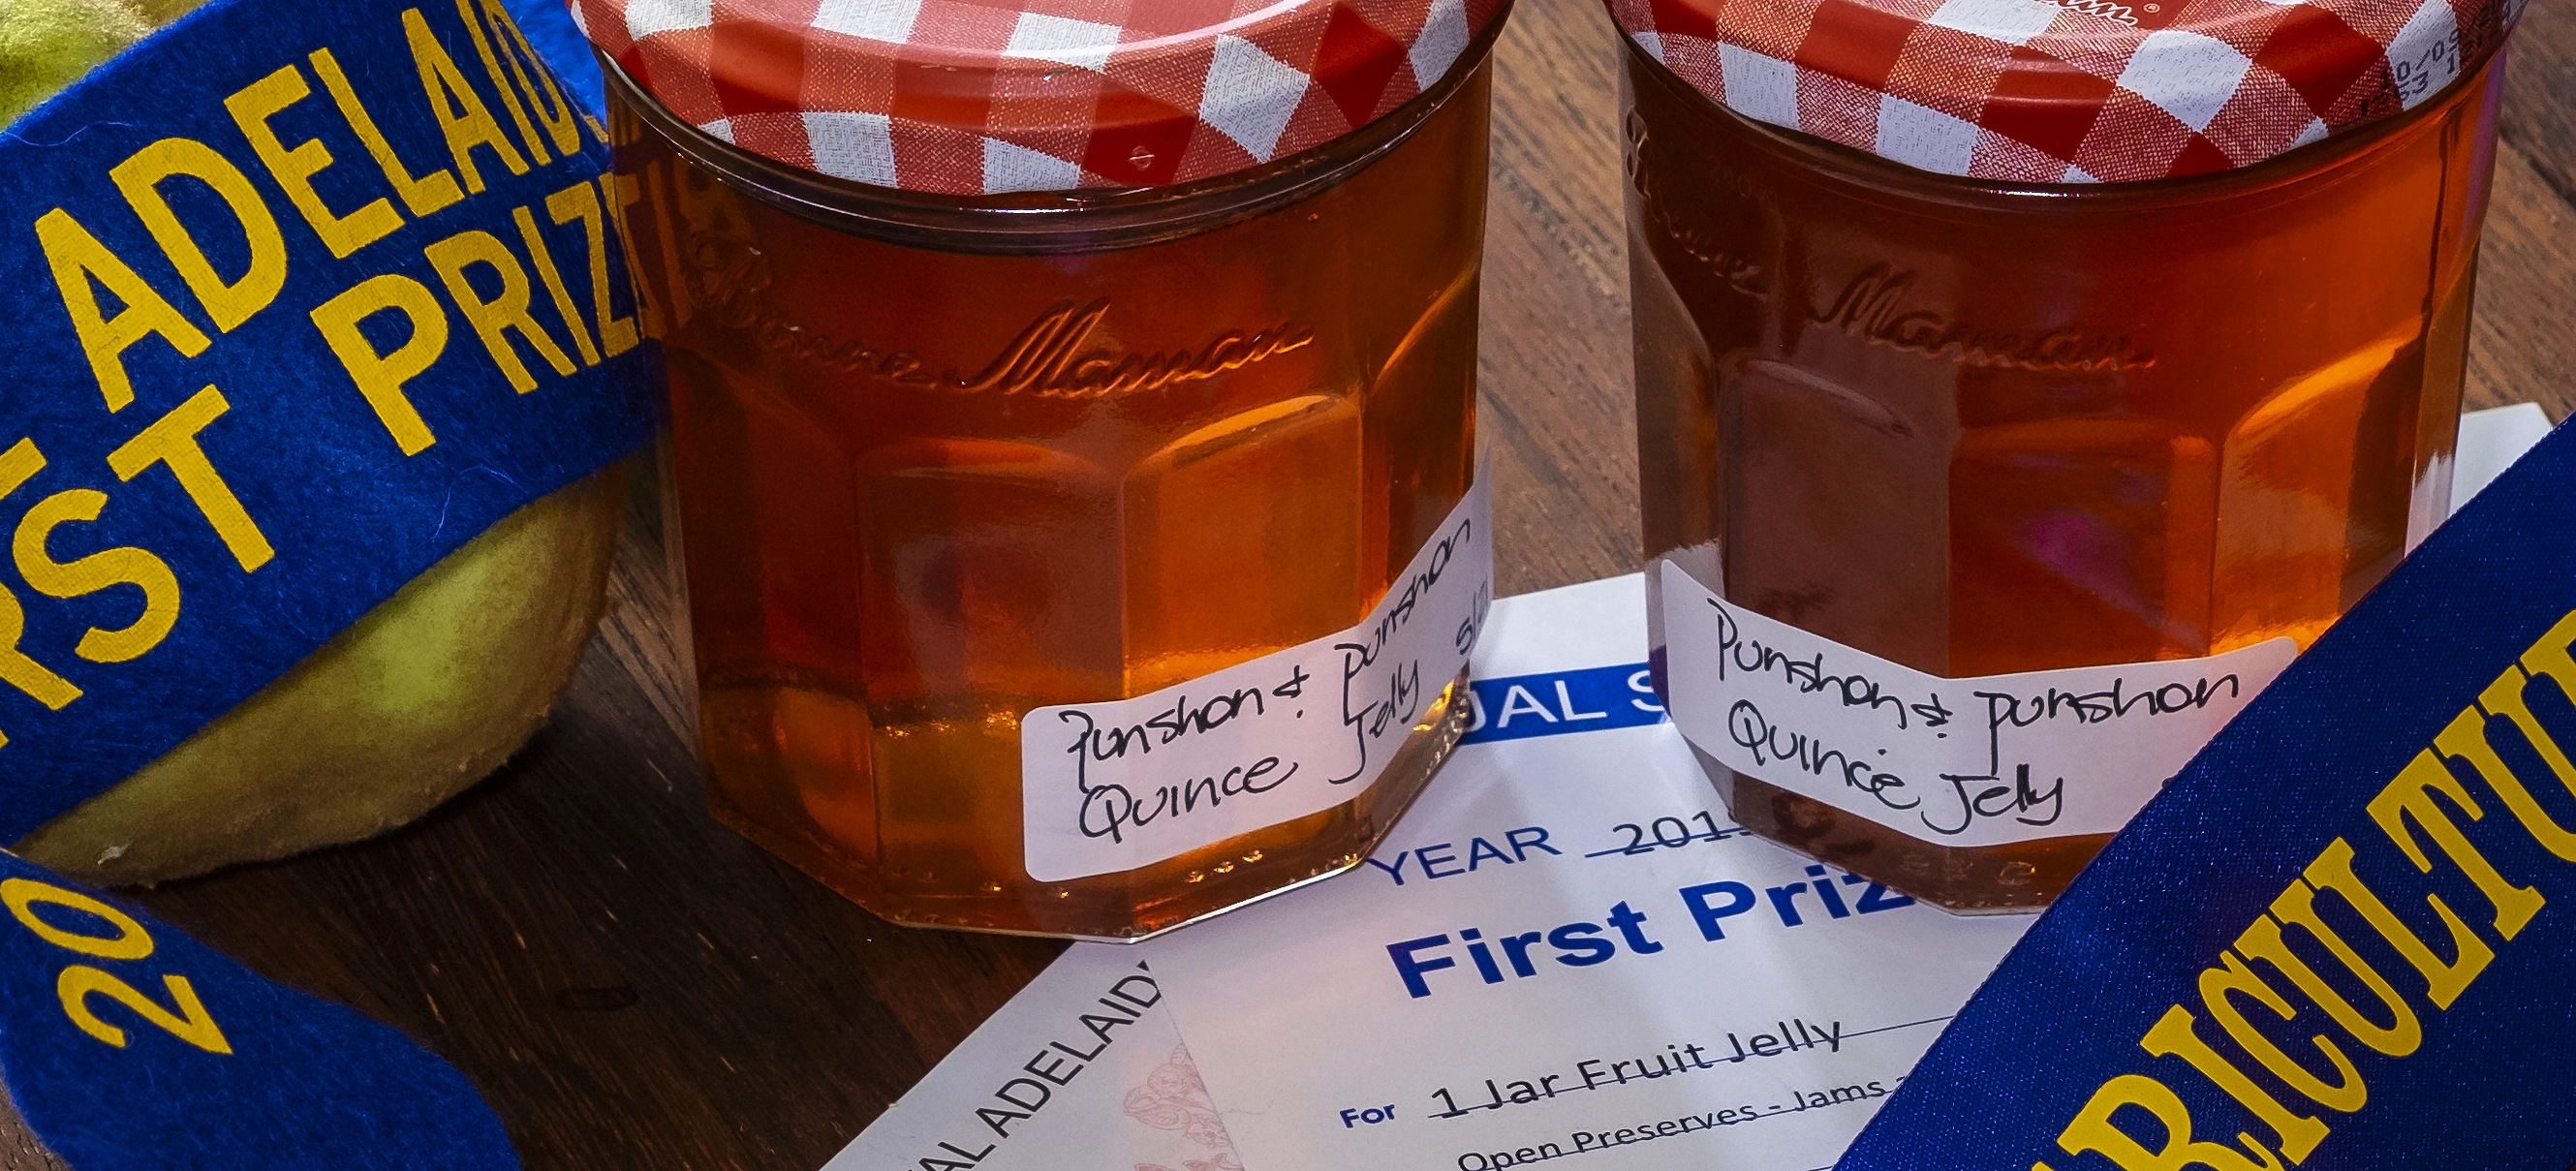 The perfect jelly: Quince Jelly
Remaining pulp can be made into jam
HOW TO USE THE REMAINING PULP TO MAKE JAM
- The strained pulp doesn't have to be thrown away; it can be used to make a puree jam or fruit cheese. Before starting, first check that that puree is suitable: that it is not full of skin, seed, cores or stalks and weigh it.
- Place the puree into a stainless-steel preserving pan or heavy bottom stainless-steel pot and heat gently over low-medium heat. Stir carefully. As it heats up it will take on a volcanic action and bubble and splatter hot puree.
- Once hot add 500g (1lb) sugar to 500g (1lb) weighed puree. Heat gently to dissolve sugar, then boil until the setting point is reached, stirring as required to prevent the jam from sticking to the bottom of the pan.
- Pot up, seal and label as for a jam, jelly, or marmalade. Purees can be used to flavour yogurts, make fruit fool, sauces and tarts.
WHAT CAN GO WRONG: MISTAKES & REMEDIES
Mould
If mould appears on the jelly after a short time, it is probably a fault in the making, if it appears after a month or two, it is more likely to be a storage fault.
- Jelly can go mouldy if;
- fruit is over-ripe or picked while wet,
- lids are not clean, dry, hot and sterilised at the bottling stage,
- jelly not sealed immediately after potting with hot, dry sterilised lids
- the lids do not fit properly and
- the Jelly is not stored correctly.
I do not recommend using any mouldy preserves as microscopic mould spores will have spread throughout the jar and may cause health related issues for some people. Never use mouldy produce, carefully select your produce and remove any bruised or damaged areas before using. Select jars and lids that will seal correctly, sterilise them before use and seal the jar immediately after potting the jelly. Store jelly in a cool, dry low light area.
Runny Consistency
- May occur if a good recipe is not used or followed, and quantities are not weighed/measured.
- Jelly not boiled long enough and does not reach the setting point
- Low pectin and acid fruit have been used
Select high pectin and fruit acid fruit when first starting out making jellies. This will increase the likelihood of a good set, so you can concentrate on the other technique elements. Use recipes from a trusted source. Not all recipes, particularly those on the internet, have been tested at least 3 times by the cook or a trusted cohort on their behalf. Read the recipe carefully before starting to cook. If you are using a larger or smaller quantity than specified in the recipe, double check you have adjusted the quantities correctly.
Cloudy
- The contents of the jelly bag are squeezed or disturbed during the straining stage. As tempting as it may be, do not squeeze the jelly bag, stir or try to push the fruit to extract more juice.
- The final set jelly has a disappointing colour or flavour. Long and slow simmering of the fruit is required in the initial stage. This allows the full extraction of colour, flavour, fruit acid and pectin.
Setting Up Too Quickly
Once the setting point has been reached, it is important to work quickly to pot up into the jars before the jelly begins to set.
- If it starts to set in the preserving pan, it is difficult to ladle out and is likely to form clumps in the jar as it cools. If this occurs, return the preserving pan to the stove and warm it briefly over a gentle heat until it is liquid again.
Test the pectin level - it's easy
PECTIN TEST
- Place 5ml (1 teaspoon) of the strained juice simmered fruit solution, taken from the mixture, into a small glass jar. Add 15ml (1 tablespoon) methylated spirits to the jar and leave it for 1-2 minutes. A mixture high in pectin will form a large, clotted mass. Use 1 cup of sugar for each cup of liquid fruit to produce a quick setting jelly that gives a good yield of jelly for the amount of fruit used.
- A medium pectin level will produce two or three smaller clots of jelly. Continue to simmer again for a further 5 minutes to obtain a more concentrate juice base. Repeat the test. If the result remains the same use ¾ cup sugar to each cup of fruit liquid to obtain a good set on the jelly.
- If the pectin test fails to produce any clots or gives a mass of small, scattered lumps, there is insufficient pectin to achieve a jelly set. Simmer a further 5 minutes and test again. If the results remain the same additional pectin will need to be introduced either using commercial pectin, powder or liquid, homemade pectin or 2 tablespoons of fresh strained level juice for each 1 kg of fruit used.
- To make homemade pectin refer to my article Understanding Pectin: A Masterclass. Add the pectin after the sugar has been dissolved and continue to boil until the setting point is reached. Always discard the clotted mass after the test and thoroughly wash your equipment as methylated spirits is poisonous.
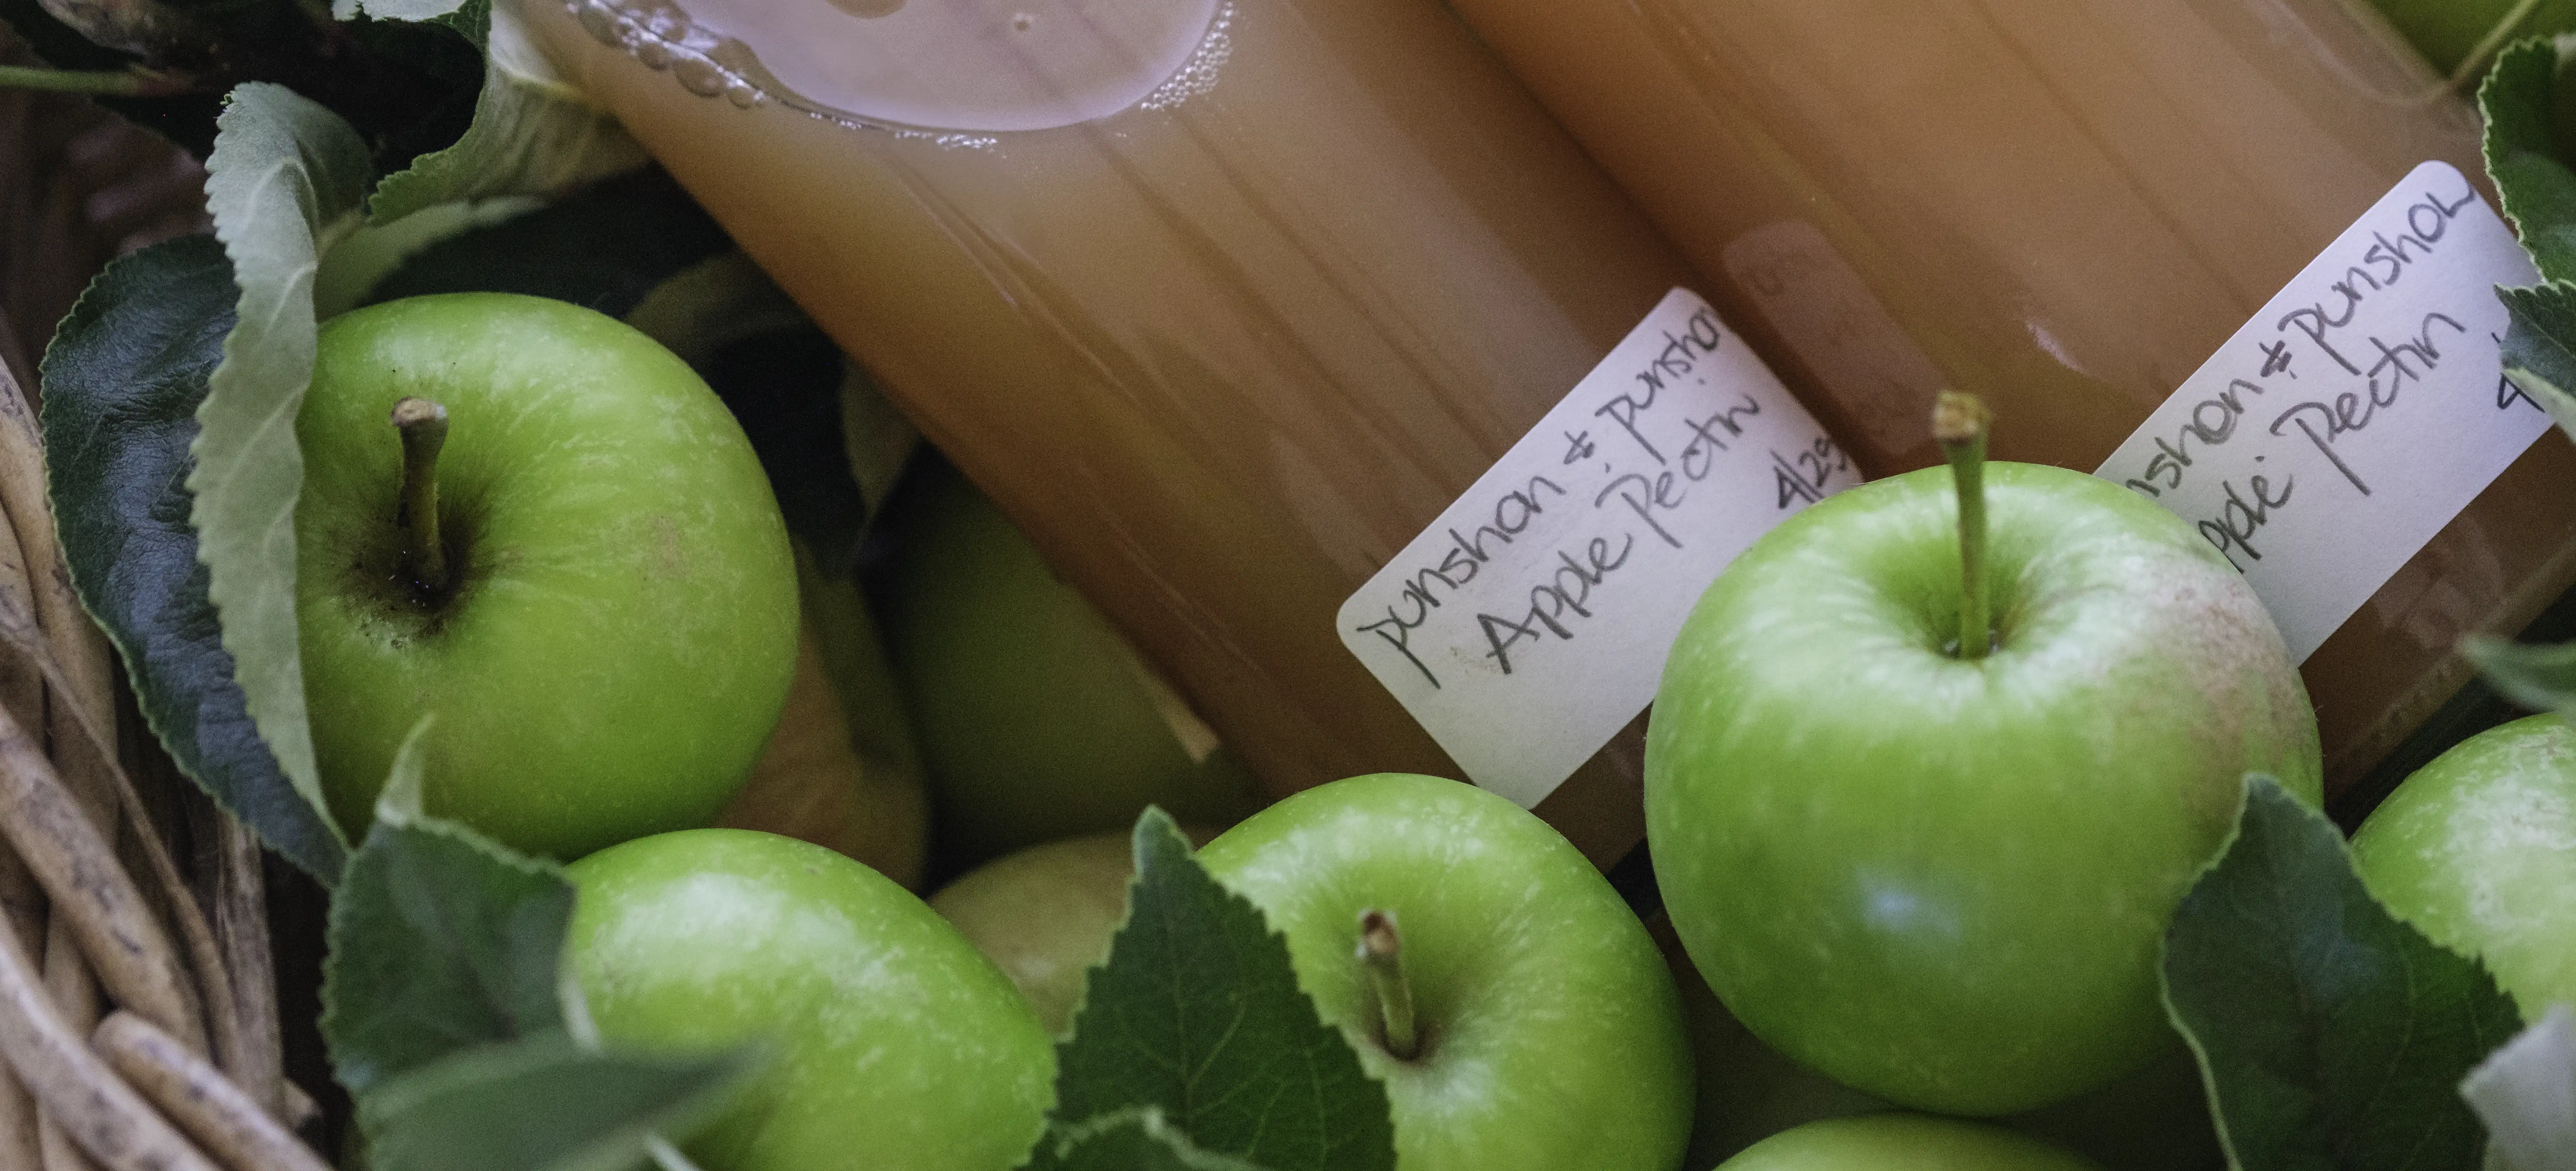 Homemade apple pectin
HOW TO MAKE & USE A JELLY BAG
- If you will be making large quantities of jelly, a jelly bag is indispensable. They are available at kitchenware, homeware and speciality shops. Alternatively, you can improvise and make your own. It can be made from heavy-duty calico, cotton flannel or close-weave nylon, multiple layers of muslin (cheesecloth) or any other material that will only allow the fruit juice to flow through. The skin, seeds and pulp must remain inside the bag.
- Scald the cloth or the commercial jelly bag with boiling water before using and use while it is still damp. This will reduce the amount of liquid and colour absorbed by the material.
- Secure the jelly bag tightly, using loops or strong tape, on its stand, upturned stool, or chair or for smaller quantities drape your straining cloth over a stainless-steel sieve. Place a bowl underneath to catch the juice as it strains.
- Fill the jelly bag progressively with fruit and leave to drain overnight. Do not squeeze the bag to extract the juice as this will create a cloudy jelly. Discard the pulp if it is not suitable to make a puree-style jam or fruit cheese as outlined above
- Thoroughly wash the jelly bag and rinse several times to remove all traces of detergent. Completely dry the bag before storing.
- The bag can be reused multiple times, however, sterilise it before every use.
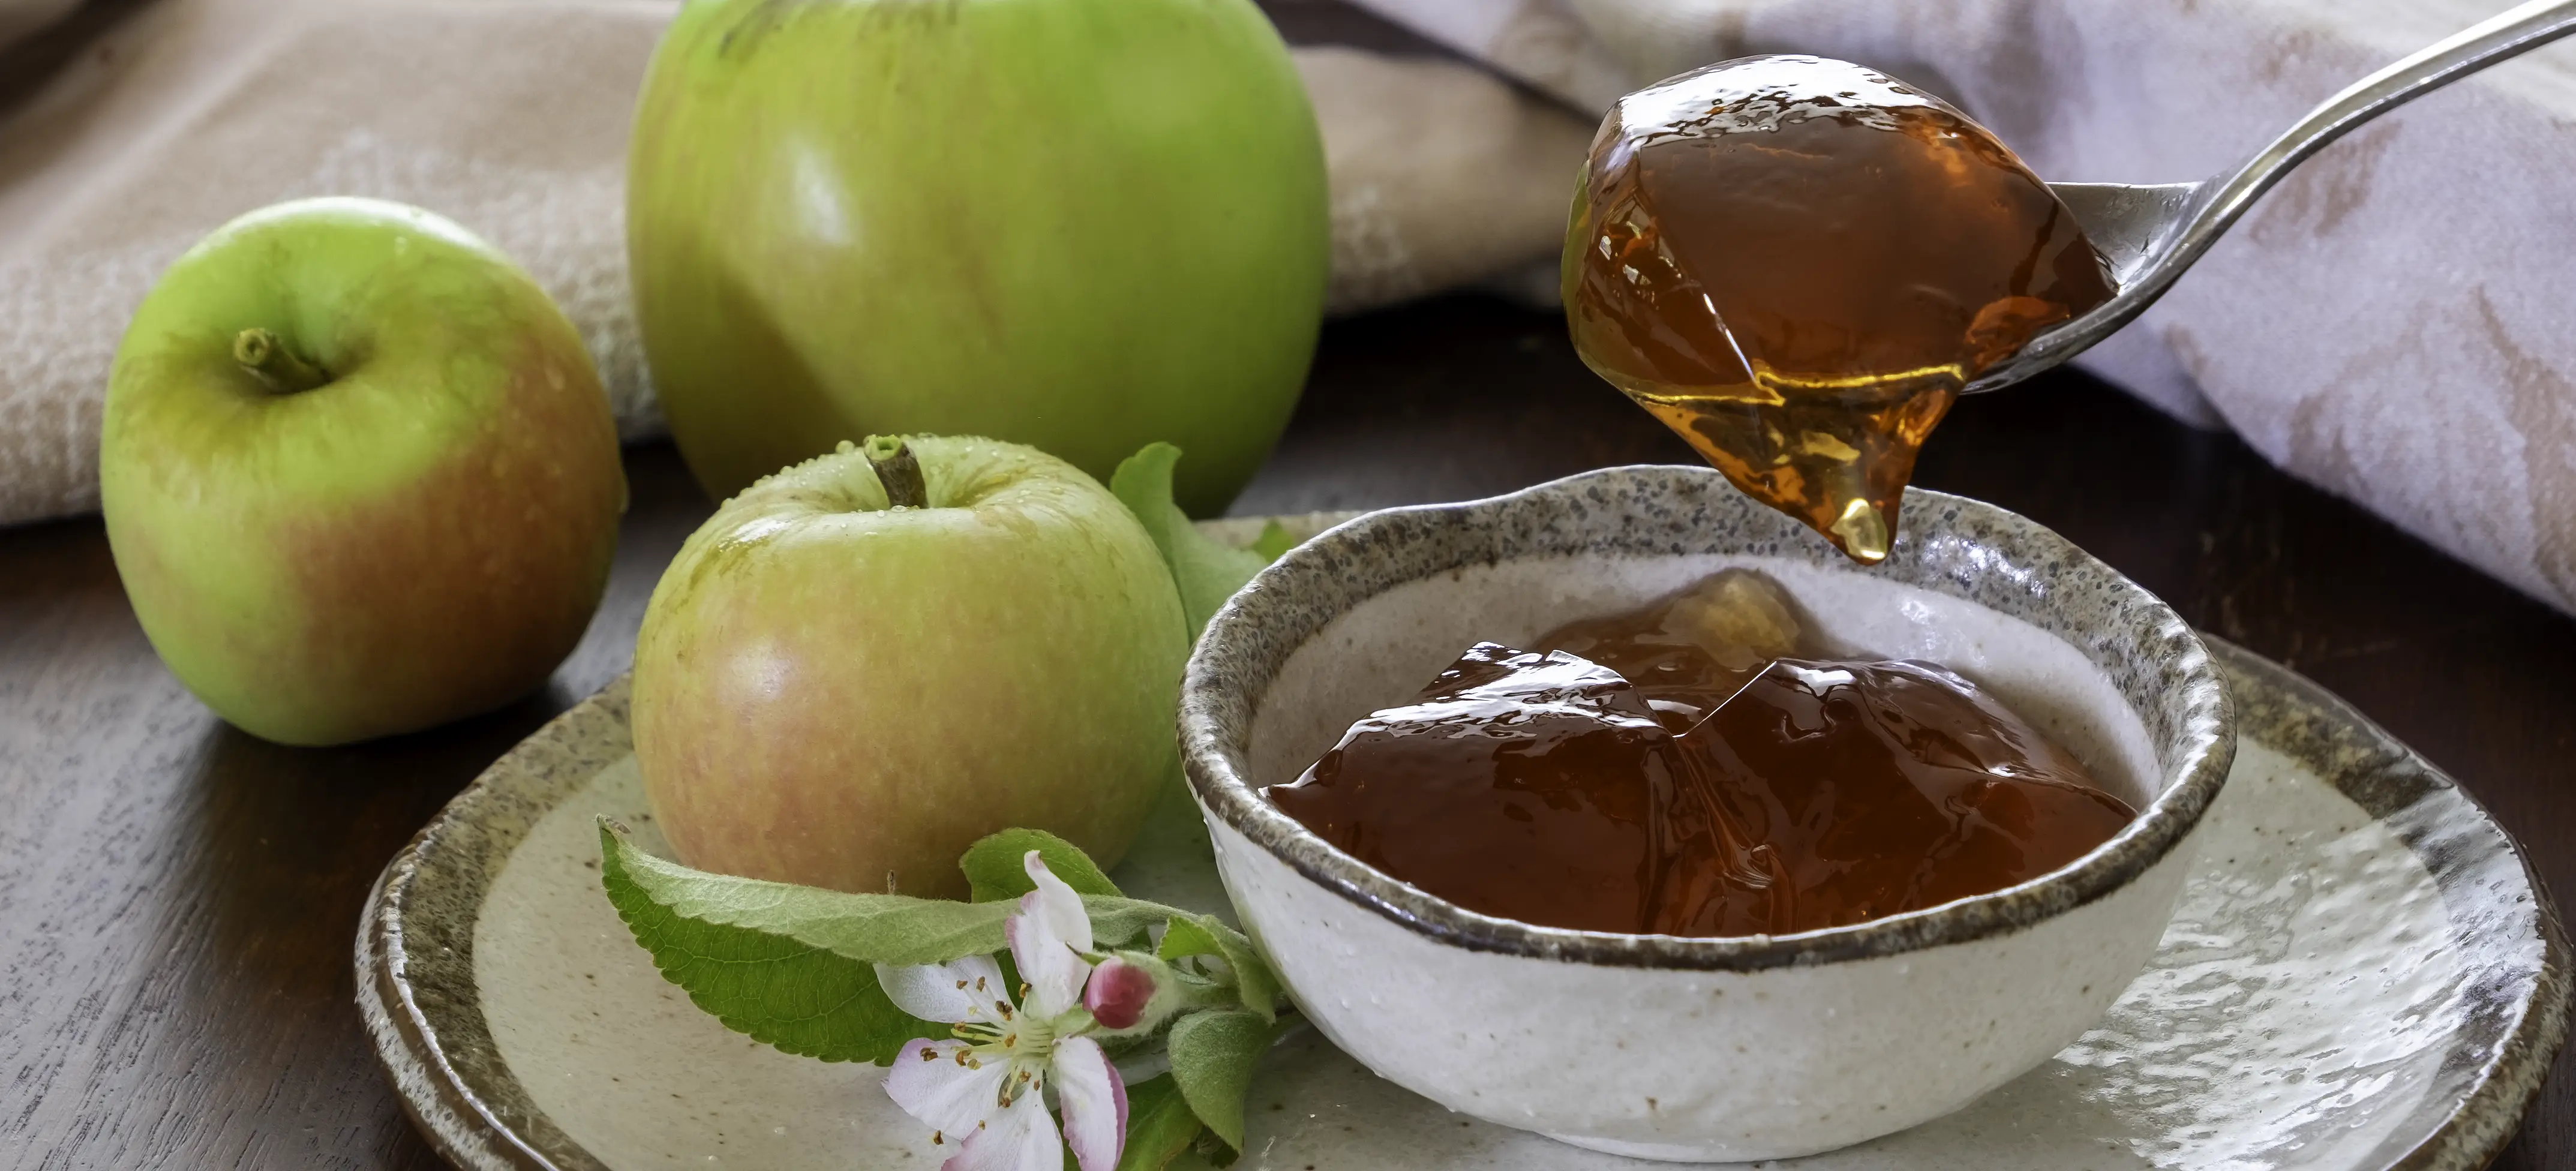 Strong enough to hold its shape, yet soft enough to quiver when cut with a serving spoon
Now you are ready to make the perfect jelly. Bright, colourful, translucent, quivering.
Recipes to try: Apple, Rosemary & Lemon Jelly * Kaffir Lime & Chilli Jelly * Pomegranate & Apple Jelly * Quince Jelly * Rosehip & Apple Jelly * Spiced Cider & Apple Jelly
Enjoy